“DIY solar panel wiring installation for house”
Introduction to Solar Panel Wiring
Before diving into the installation process, it’s essential to understand the basics of solar panel wiring. A typical solar panel system consists of several components, including:
- Solar panels: These are the photovoltaic (PV) modules that convert sunlight into electrical energy.
- Inverters: These devices convert the DC power generated by the solar panels into AC power, which is usable in your home.
- Charge controllers: These regulate the flow of energy from the solar panels to the batteries or inverter.
- Batteries: These store excess energy generated by the solar panels for later use.
- Wiring: This refers to the electrical connections between the various components of the solar panel system.
Pre-Installation Checklist
Before starting the wiring installation, ensure you have the following:
- A clear understanding of your local electrical codes and regulations.
- A solar panel system design that meets your energy needs and complies with local building codes.
- All necessary components, including solar panels, inverters, charge controllers, batteries, and wiring materials.
- Personal protective equipment (PPE), such as gloves, safety glasses, and a first aid kit.
- A qualified electrician or DIY experience with electrical systems.

Wiring Installation Process
The wiring installation process involves several steps, which are outlined below:
Step 1: Plan the Wiring Layout
- Determine the location of the solar panels, inverter, charge controller, and batteries.
- Plan the wiring route, taking into account obstacles, such as roof vents, chimneys, and skylights.
- Use a wiring diagram to visualize the connections between components.
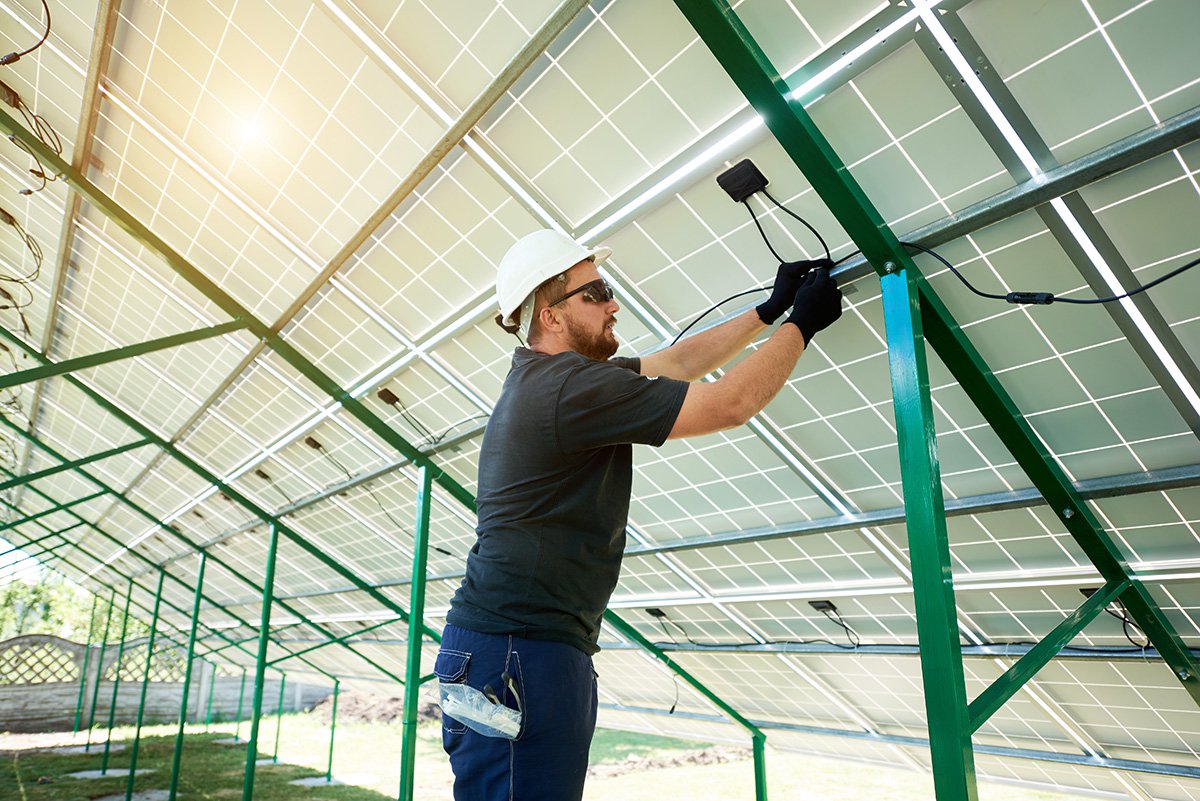
Step 2: Install the Solar Panel Array
- Mount the solar panels on the roof or a ground-mounted rack, following the manufacturer’s instructions.
- Connect the solar panels in series or parallel, depending on the system design.
- Use PV wire nuts or connectors to secure the connections.
Step 3: Install the Inverter
- Choose a location for the inverter, taking into account factors such as ventilation, accessibility, and proximity to the solar panel array.
- Mount the inverter according to the manufacturer’s instructions.
- Connect the inverter to the solar panel array, using the recommended wiring and connectors.
Step 4: Install the Charge Controller
- Choose a location for the charge controller, typically near the battery bank.
- Mount the charge controller according to the manufacturer’s instructions.
- Connect the charge controller to the solar panel array, batteries, and inverter, using the recommended wiring and connectors.
Step 5: Install the Battery Bank
- Choose a location for the battery bank, taking into account factors such as ventilation, accessibility, and proximity to the charge controller.
- Mount the batteries according to the manufacturer’s instructions.
- Connect the batteries in series or parallel, depending on the system design.
- Connect the battery bank to the charge controller and inverter, using the recommended wiring and connectors.
Step 6: Connect the Load Center
- Identify the load center, which is the main electrical panel in your home.
- Connect the inverter to the load center, using the recommended wiring and connectors.
- Ensure the inverter is configured to supply power to the grid or your home’s electrical system.
Step 7: Test the System
- Perform a series of tests to ensure the system is functioning correctly, including:
- Voltage and current measurements at each component.
- Inverter and charge controller diagnostics.
- System performance monitoring.
Safety Considerations
When working with electrical systems, safety is paramount. Ensure you:
- Follow local electrical codes and regulations.
- Use personal protective equipment (PPE), such as gloves and safety glasses.
- Disconnect the system from the grid or power source before performing maintenance or repairs.
- Avoid overloading the system, which can cause damage or fire.
- Regularly inspect the system for signs of wear, damage, or malfunction.
Common Mistakes to Avoid
To ensure a successful DIY solar panel wiring installation, avoid the following common mistakes:
- Incorrect wiring polarity, which can cause damage or fire.
- Insufficient or inadequate grounding, which can lead to electrical shock or system malfunction.
- Overloading the system, which can cause damage or fire.
- Failure to follow local electrical codes and regulations.
- Inadequate system testing, which can lead to hidden problems or safety issues.
Conclusion
A successful DIY solar panel wiring installation requires careful planning, attention to detail, and adherence to safety protocols. By following the steps outlined in this guide, you can ensure a safe and efficient solar panel system that meets your energy needs and complies with local building codes. Remember to always follow local electrical codes and regulations, and consult a qualified electrician if you’re unsure about any aspect of the installation process. With the right knowledge and preparation, you can enjoy the benefits of solar power and reduce your reliance on the grid.
Recommended Tools and Materials
To complete a DIY solar panel wiring installation, you’ll need the following tools and materials:
- PV wire nuts or connectors
- Wire strippers and cutters
- Electrical tape and connectors
- Inverter and charge controller mounting hardware
- Battery bank mounting hardware
- Load center connectors and wiring
- Personal protective equipment (PPE), such as gloves and safety glasses
- Multimeter and voltage tester
- System monitoring and testing equipment
Additional Resources
For further information and guidance on DIY solar panel wiring installation, consult the following resources:
- National Electric Code (NEC) guidelines
- Local building codes and regulations
- Solar panel manufacturer instructions and documentation
- Online forums and communities, such as Reddit’s r/solarpanels
- Professional solar panel installation courses or training programs
By following this comprehensive guide and taking the necessary precautions, you can successfully install a DIY solar panel wiring system that meets your energy needs and helps you achieve energy independence.


