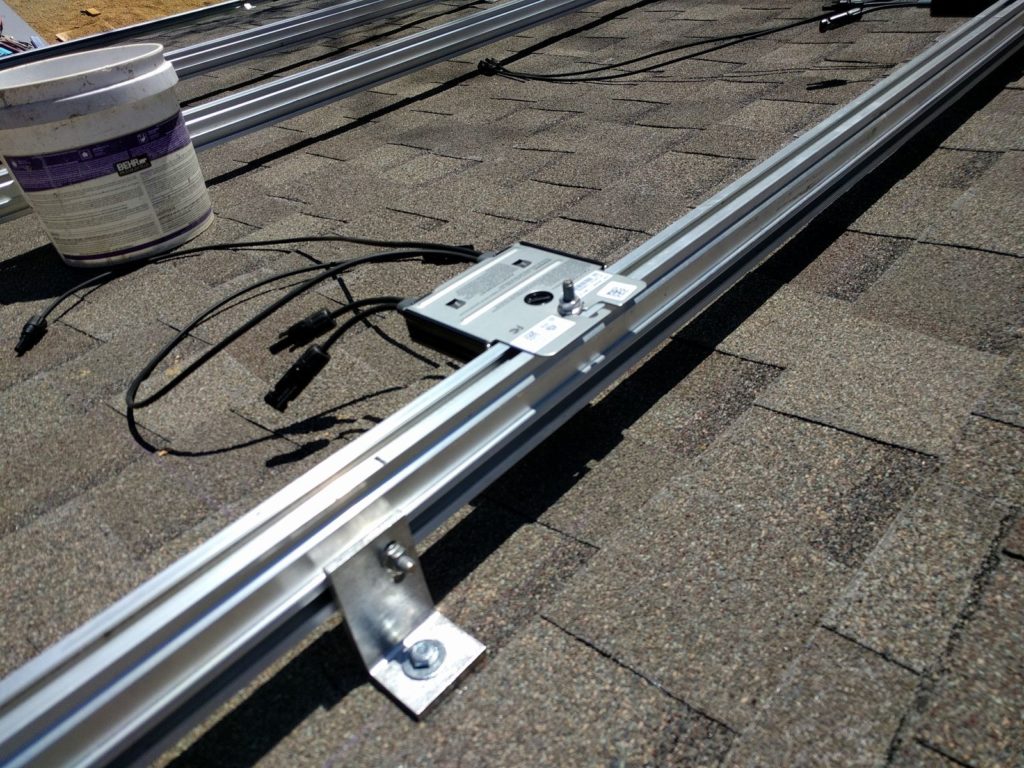
“DIY solar power setup with detailed wiring”
Designing Your DIY Solar Power Setup
To create an efficient and safe DIY solar power setup, consider the following factors:
- Energy Needs: Calculate your daily energy consumption in watt-hours (Wh) to determine the required solar panel wattage and battery bank capacity.
- Sunlight Availability: Assess the amount of sunlight your location receives, taking into account factors like latitude, climate, and shading.
- System Size: Determine the number of solar panels, batteries, and other components required to meet your energy needs.
- Budget: Establish a budget and balance it with the cost of the components, installation, and any necessary permits or inspections.

Wiring the DIY Solar Power Setup

Now that we’ve covered the components and design considerations, let’s move on to the wiring process:
Step 1: Connect the Solar Panels
- Series Connection: Connect the solar panels in series by linking the positive terminal of one panel to the negative terminal of the next panel. This will increase the voltage of the system.
- Parallel Connection: Connect the solar panels in parallel by linking the positive terminals together and the negative terminals together. This will increase the current of the system.
- Use MC4 Connectors: Connect the solar panels to the charge controller using MC4 connectors, which are designed for high-voltage and high-current applications.
Step 2: Connect the Charge Controller
- Input Terminals: Connect the solar panel array to the charge controller’s input terminals, making sure to match the polarity (positive to positive, negative to negative).
- Output Terminals: Connect the charge controller’s output terminals to the battery bank, again matching the polarity.
- Set the Charge Controller: Configure the charge controller according to the manufacturer’s instructions, setting the voltage and current limits, as well as the charging algorithm.
Step 3: Connect the Battery Bank
- Series Connection: Connect the batteries in series to achieve the desired voltage (e.g., 12V, 24V, or 48V).
- Parallel Connection: Connect the batteries in parallel to increase the capacity (Ah) of the battery bank.
- Use Battery Interconnects: Connect the batteries using battery interconnects, which are designed for high-current applications.
Step 4: Connect the Inverter
- Input Terminals: Connect the battery bank to the inverter’s input terminals, matching the polarity.
- Output Terminals: Connect the inverter’s output terminals to your home’s electrical panel or a sub-panel.
- Set the Inverter: Configure the inverter according to the manufacturer’s instructions, setting the output voltage and frequency (e.g., 120V, 60Hz).
Step 5: Add Fuses and Circuit Breakers
- Fuse Boxes: Install fuse boxes to protect the system from overcurrent conditions, selecting fuses with the correct ampere rating for each circuit.
- Circuit Breakers: Install circuit breakers to provide an additional layer of protection and allow for easy disconnection of individual circuits.
Safety Considerations
When working with electrical systems, safety is paramount. Always follow these guidelines:
- Use Personal Protective Equipment (PPE): Wear protective gear, including gloves, safety glasses, and a hard hat, when working with electrical systems.
- Ensure Proper Ventilation: Work in well-ventilated areas to prevent the accumulation of explosive gases.
- Use Correct Wire Sizing: Use wires that meet the required ampacity and voltage ratings for the system.
- Grounding and Bonding: Ensure proper grounding and bonding of the system to prevent electrical shocks and equipment damage.
- Regular Maintenance: Regularly inspect and maintain the system to prevent component failure and ensure safe operation.
Conclusion
Creating a DIY solar power setup with detailed wiring requires careful planning, attention to safety, and a solid understanding of the components involved. By following the steps outlined in this article, you can create a reliable and efficient solar power system that meets your energy needs while reducing your carbon footprint. Remember to always follow safety guidelines and consult local electrical codes and regulations before starting your project.
Additional Resources
For those looking for more information on DIY solar power setups, we recommend the following resources:
- National Renewable Energy Laboratory (NREL): A comprehensive guide to solar energy and photovoltaic systems.
- Solar Energy Industries Association (SEIA): A trade association providing resources and guidance on solar energy policy and installation.
- Local Electrical Codes and Regulations: Familiarize yourself with local electrical codes and regulations to ensure compliance with safety standards.
By embarking on a DIY solar power project, you’ll not only reduce your energy costs but also contribute to a sustainable future. Happy building!


