“Residential solar panel wiring installation”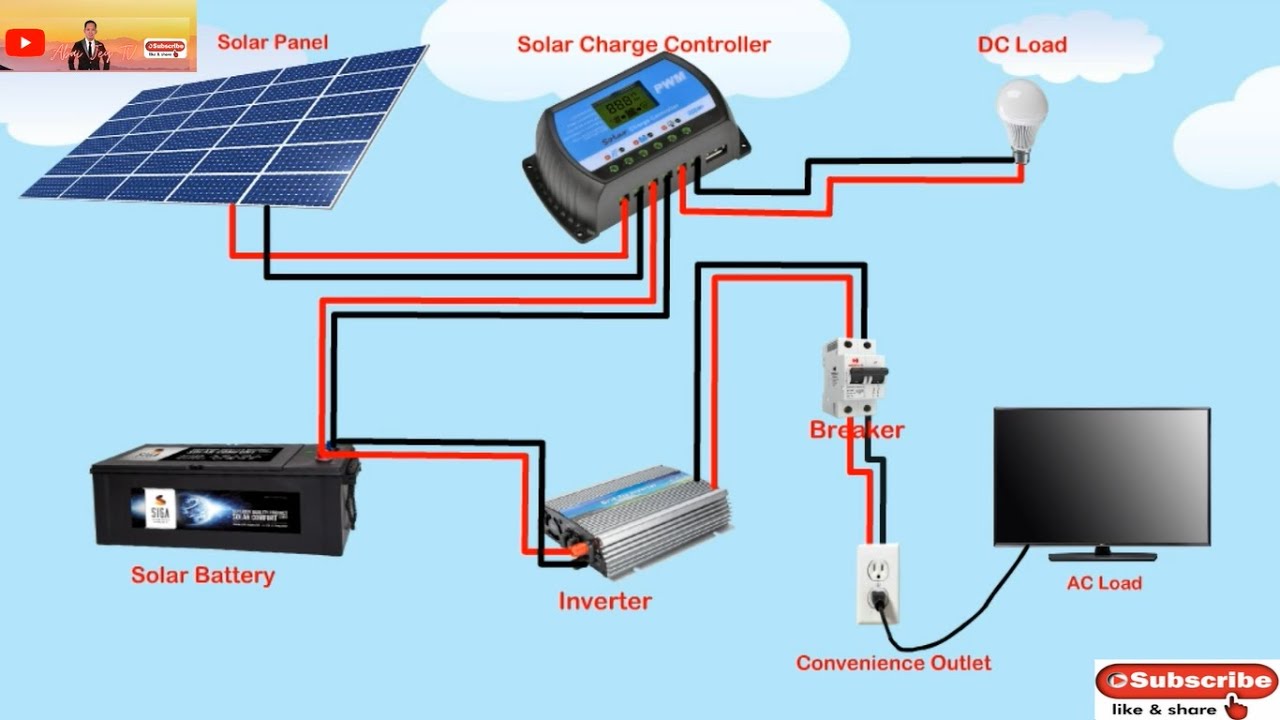
Introduction to Solar Panel Systems
A residential solar panel system consists of several key components:
- Solar panels: These are the photovoltaic (PV) panels that convert sunlight into electrical energy.
- Mounting system: This includes the frames, rails, and clamps that secure the solar panels to the roof or ground.
- Inverter: This device converts the DC power generated by the solar panels into AC power, which is usable in your home.
- Charge controller: This component regulates the flow of energy from the solar panels to the battery bank (if you have one) or directly to the inverter.
- Wiring and connectors: These connect the various components of the system, allowing energy to flow between them.
Safety Considerations
Before starting the installation, it’s essential to take safety precautions seriously:
- Hire a professional: If you’re not experienced in electrical work, consider hiring a licensed electrician or solar panel installer.
- Turn off the power: Ensure the main electrical panel is switched off before starting work.
- Use personal protective equipment: Wear gloves, safety glasses, and a hard hat when working with electrical systems.
- Follow local regulations: Comply with local building codes, electrical codes, and regulations regarding solar panel installations.
Wiring Components and Materials
To ensure a safe and efficient installation, you’ll need the following wiring components and materials:
- PV wires: These are specially designed for solar panel systems and can withstand high temperatures and UV radiation.
- Inverter cables: These connect the inverter to the electrical panel or main electrical service.
- Grounding cables: These provide a safe path to ground for the system.
- Connectors and lugs: These secure the wires to the solar panels, inverter, and other components.
- Circuit breakers and fuses: These protect the system from overcurrent and short circuits.

Step-by-Step Installation Instructions
Here’s a step-by-step guide to residential solar panel wiring installation:
Step 1: Plan the System
- Determine the size of your solar panel system based on your energy needs and available space.
- Choose a suitable location for the inverter, charge controller, and electrical panel.
- Plan the wiring route, considering the shortest distance between components and avoiding obstacles.
Step 2: Install the Solar Panels
- Mount the solar panels to the roof or ground using a suitable mounting system.
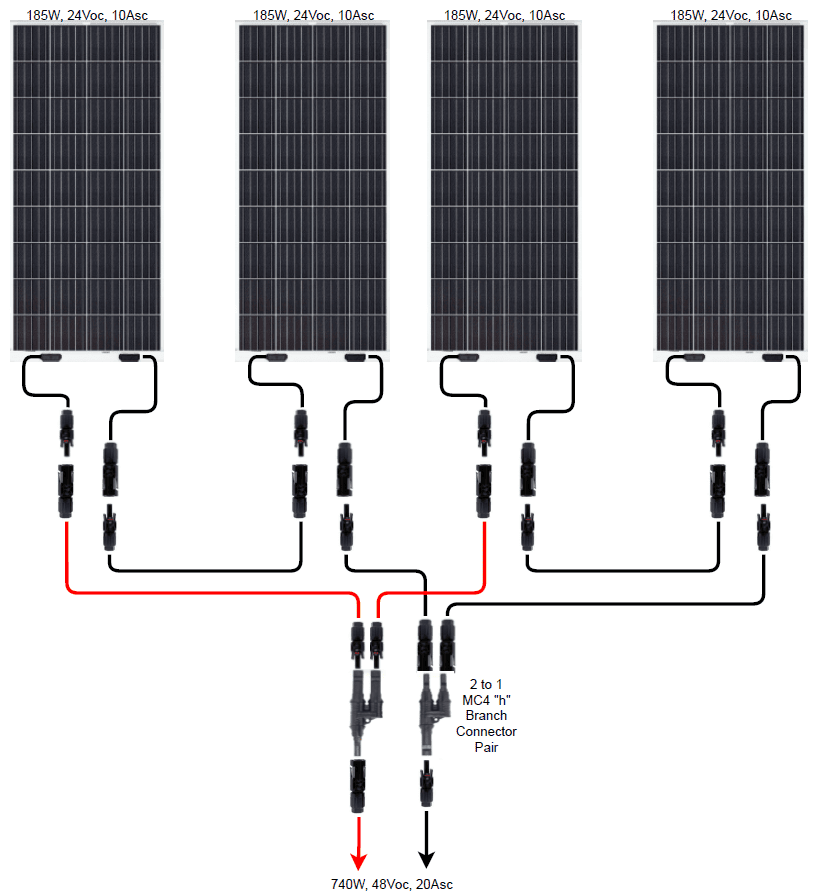
- Connect the solar panels in series and/or parallel to achieve the desired voltage and current.
- Secure the PV wires to the solar panels using connectors and lugs.
Step 3: Install the Inverter
- Mount the inverter in a well-ventilated area, protected from direct sunlight and moisture.
- Connect the inverter cables to the electrical panel or main electrical service.
- Configure the inverter settings according to the manufacturer’s instructions.
Step 4: Install the Charge Controller (if applicable)
- Mount the charge controller in a secure location, close to the battery bank (if you have one).
- Connect the charge controller to the solar panels, battery bank, and inverter (if applicable).
- Configure the charge controller settings according to the manufacturer’s instructions.
Step 5: Connect the Wiring
- Connect the PV wires to the inverter, charge controller, and solar panels.
- Connect the grounding cables to the solar panels, inverter, and electrical panel.
- Secure the wires to the roof or ground using cable ties, clips, or conduit.
Step 6: Test the System
- Turn on the main electrical panel and test the system for proper function.
- Verify the inverter is producing AC power and the solar panels are generating DC power.
- Monitor the system’s performance using a monitoring system (if installed).
Step 7: Inspect and Maintain the System
- Regularly inspect the system for signs of wear, damage, or malfunction.
- Clean the solar panels and verify the wiring and connections are secure.
- Perform maintenance tasks, such as updating software or replacing components, as recommended by the manufacturer.
Conclusion
Residential solar panel wiring installation requires careful planning, attention to safety, and adherence to local regulations. By following the step-by-step guide outlined in this article, you can ensure a safe and efficient installation that provides years of reliable service. Remember to hire a professional if you’re not experienced in electrical work, and always follow the manufacturer’s instructions for specific components and systems. With a properly installed solar panel system, you can enjoy the benefits of renewable energy, reduce your carbon footprint, and save on your energy bills.


